We continue the renovation of the Heathkit SB220 Power Amplifier.
Remove the 15 sheet metal screws that hold the perforated cover in place and remove this along with the top rear plate cover. Save the screws in a safe place. Be careful not to remove the screw that supports the insulating spacer that shorts to ground the positive high voltage, for safety reason, when the top cover is removed. The photo shows the small isolating spacer tied up the cover.
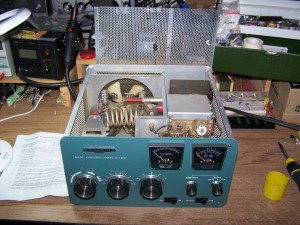
Remember the high tension produced inside the SB220 amplifier is letal. Never work inside the amplifier with the AC main connected.
Remove the three large knobs, Tune, Load and Band, by unscrewing the two small screws on each. Remember the position of the knobs.
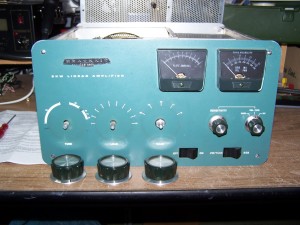
Remove the nut and washer holding the band swich to the front panel.
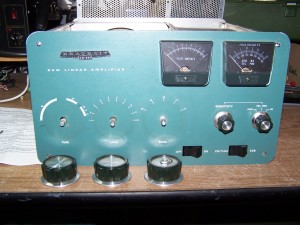
Remove the top rear screw holding the right side panel in place along with the 4 sheet metal screws holding the right side panel.
Remove the 2 screws on the right side of the front panel. This will release the right side panel for removal. Save all screws on a safe pace.
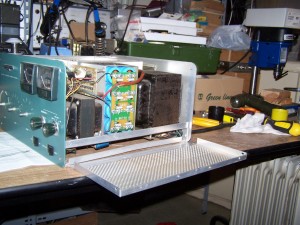
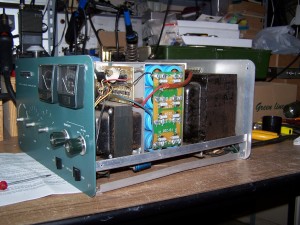
As you can see another update is already done. A few months ago I replaced the bank of filter capacitors of the SB220 amplifier with the Harbach Electronic kit FB-220. The work was less complicated than this one. Unfortunally I didn’t take any photos nor writen documentation. We can see only the result in the two previou phots.
Next step, remove the 2 screws on the left side of the front panel and loosen the front panel. It may require a slight prying action with a screwdriver to separate the front panel from the chassis due to paint from the front panel sticking to the chassis.
Swing the front panel around to the right and support it against the right side of the chassis to prevent undue stress on the wires leading to the panel.
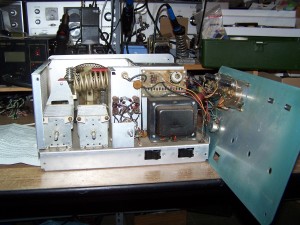
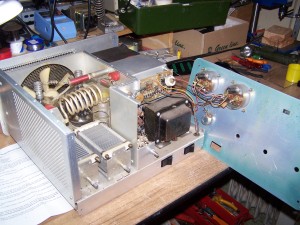
Now the old circuit board assembly is fully accessible.




 La mia attività di Radioamatore consiste nella caccia al dx, partecipazione a Contest nazionali e internazionali in HF, ricerca e restauro di apparati storici Vintage.